Recently, I was challenged at work, to make my drone take off, using a simple voice command via “Alexa”. Given this challenge came from my boss, I decided to happily accept it. I ended up writing some simple NodeJS code that interfaces with my drone and used a series of new Echo skills and a Home Assistant bridge to easily command my drone to take off and follow simple orders, something like “Alexa, please take off my drone and make it back flip twice“.
After some hours and many coffees, I got to the point that I was done and ready to show my working demo. However, I needed to take my NodeJS code and put it somewhere in the cloud to run it. I had a few options, like deploying my code into Oracle Application Container Cloud Service, which runs NodeJS natively over docker containers, but given that I have done this in the past and I was in an “adventurous mode”, I decided to try something new.
I wondered how simple would it be to use Bitnami to spin up a new NodeJS VM in Oracle Public Cloud… Well, I was amazed how pleasant the experience was, so I decided to capture this excitement in a quick blog for you to try as well.
Pre-requisites
As you will see in this blog, Bitnami allows you to quickly and easily choose from hundreds of pre-configured VM images and spin them up across major Public Cloud providers, such as Oracle, Amazon and Microsoft. See https://bitnami.com/ for more information.
It is assumed for this blog that you have access to an Oracle Public Cloud account. Now days with Cloud, this is simple, you can get provisioned an account in minutes, simply go to: https://cloud.oracle.com/tryit and request a new trial. It’s free!
Let’s create a Bitnami account
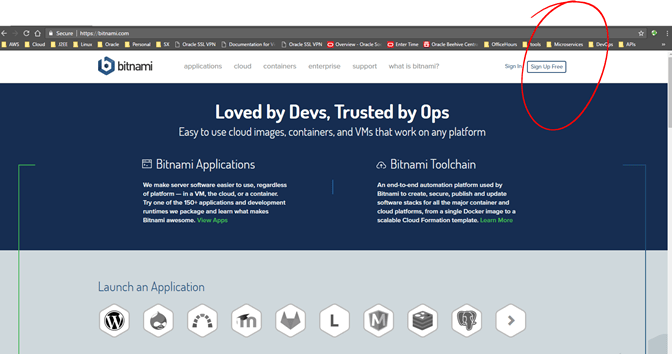
The very first thing that you need to do is to create a Bitnami account, which you can sign up for free.
- Simply go to https://bitnami.com and click on Sign Up Free.
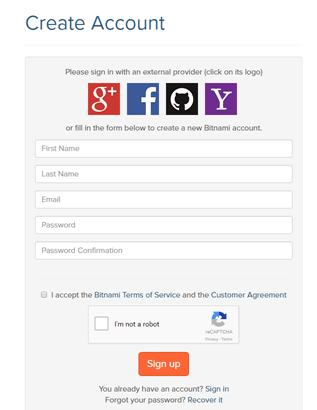
- Creating the Account was simple, I could’ve used an existing account with Google, Facebook, Github, etc. In my case I decided to simply enter a few fields and prove that I was not a robot. Then, in less than 5 seconds I had a Bitnami account
-
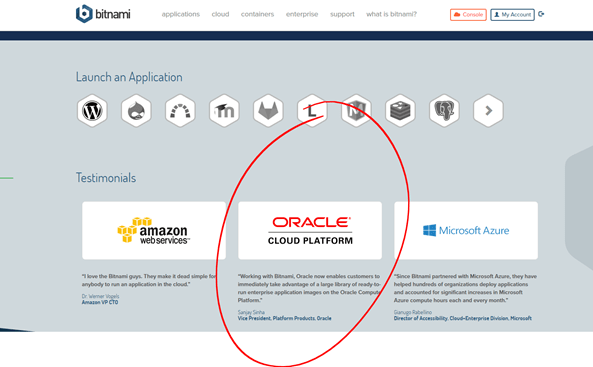
Bitnami completely simplifies the deployment of images across various Cloud providers, including Amazon, Oracle and Microsoft Azure.
This is where you click on Oracle Cloud Platform
- Bitnami will show you many stacks to choose from:
- To view the full list, click on “View Bitnami Applications for Oracle Cloud Platform“
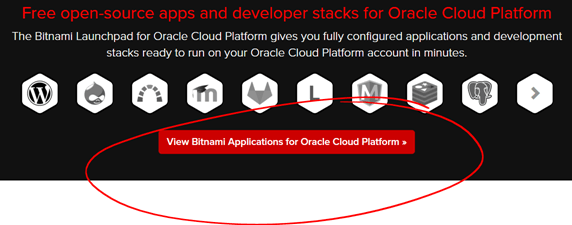
- This will take you to hundreds and hundreds of pre-built images to choose from… You will feel like a kid in a candy store!!!

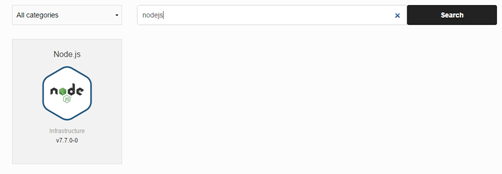
- In my case, I needed NodeJS, so I typed it, clicked search and there it was…
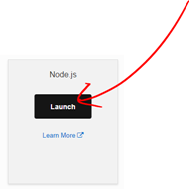
- In order to launch it, move your mouse on top of it and click on Launch
-
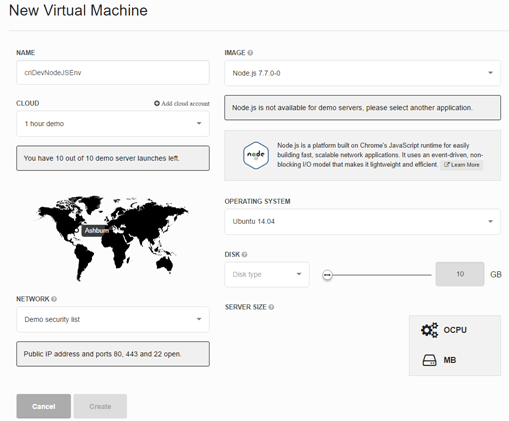
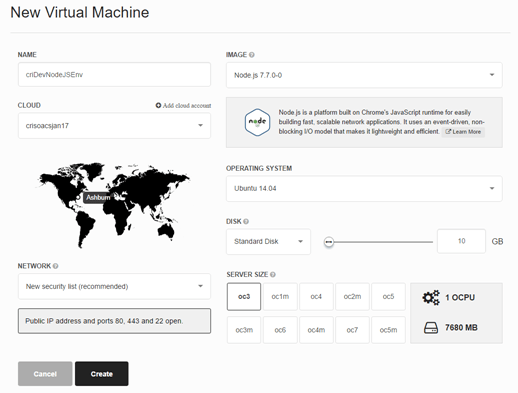
Then, the VM configuration console will appear.
- Enter a sensible name, choose your operating system of choice and disk size.
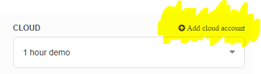
- Now, let’s configure the Cloud provider. Click on “+Add cloud account“
-
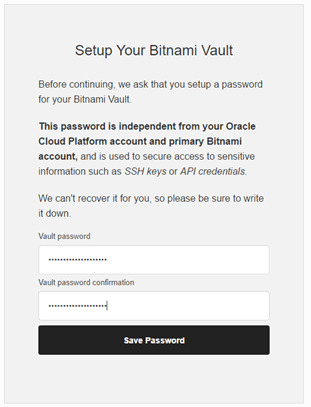
You need to setup your Bitnami Vault – Make sure to store it securely somewhere, for future access to sensitive information.
When ready, click on “Save Password”
-
Now, this is where the magic happens… Well, it’s not really magic, just the power of APIs in action.
As you can see, we could’ve built this same Bitnami image within the Oracle Compute Cloud Service and then going to public Marketplace. However, instead, we decided to run it using Bitnami’s own console, which will interact with Oracle Public Cloud to remotely build the VM, this is only possible because Oracle Public Cloud is fully accessible and configurable via REST APIs.
-
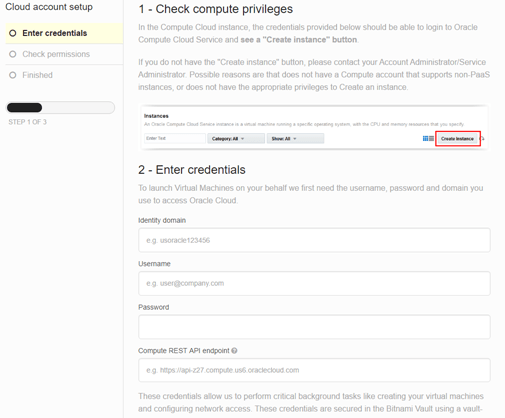
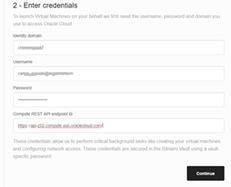
You need to enter some details about your Oracle Public Cloud account:
- Identity Domain – You get this one when you get your Oracle Public Cloud account. Normally you customise it specifically to your company or project name.
- Username – Make sure it is a user with access to Compute Cloud Service. Your cloud admin username would do.
- Password– Enter the right password
-
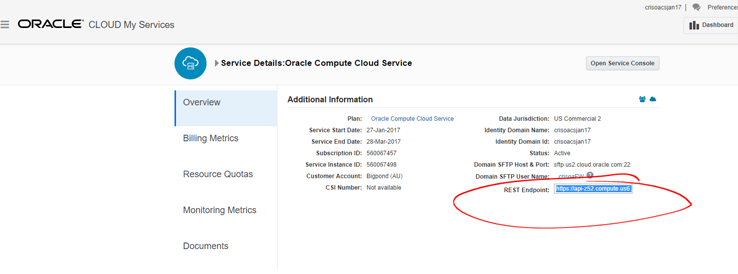
Compute REST API endpoint – If you don’t know it, you
can get this easily by following these steps:
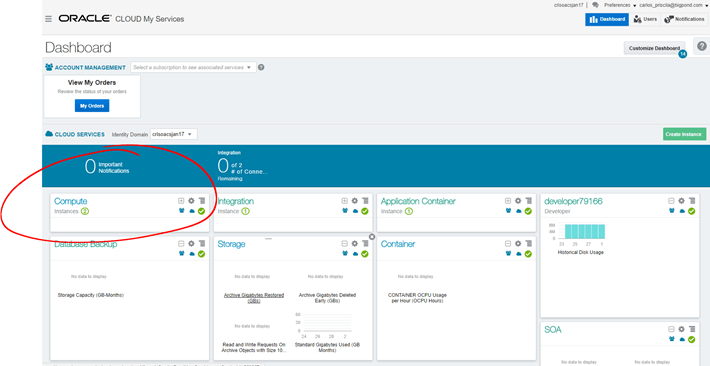
- Logging into the Oracle Cloud “My Services” console
- Once in the dashboard, click on Compute
- Logging into the Oracle Cloud “My Services” console
- Identity Domain – You get this one when you get your Oracle Public Cloud account. Normally you customise it specifically to your company or project name.
- Copy the REST Endpoint.
- Once you enter all your Oracle Public Cloud contact details, click Continue
- Bitnami will attempt to connect to your Oracle Public Cloud account. Make sure you get a successful message.
-
Click on Launch, it will take you back to the previous page.
Notice that now it has a configured Oracle Public Cloud account and now Server Size is fully populated. These are Oracle Public Cloud shapes for compute and memory size.
-
For Network, select “New security list (recommended)” – This means that a few network security rules will be configured in your VM to open inbound ports, such as 80, 443 and 22. That comes handy, as we want to SSH straightaway!
- For Server size, select the size that fits your needs. Don’t worry too much about it. Given it is a cloud environment, you can always scale up/out later when/if needed.
-
When you are happy with your configuration, click Create
This will immediately instruct Bitnami to build your requested environment inside your Oracle Public Cloud account.
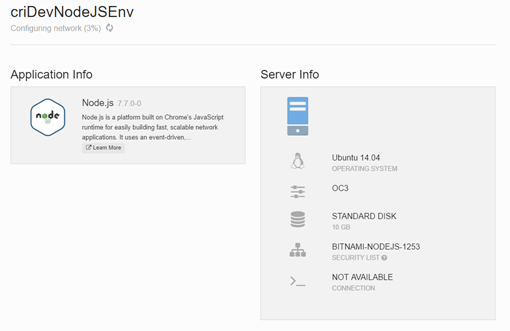
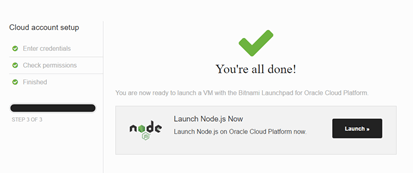
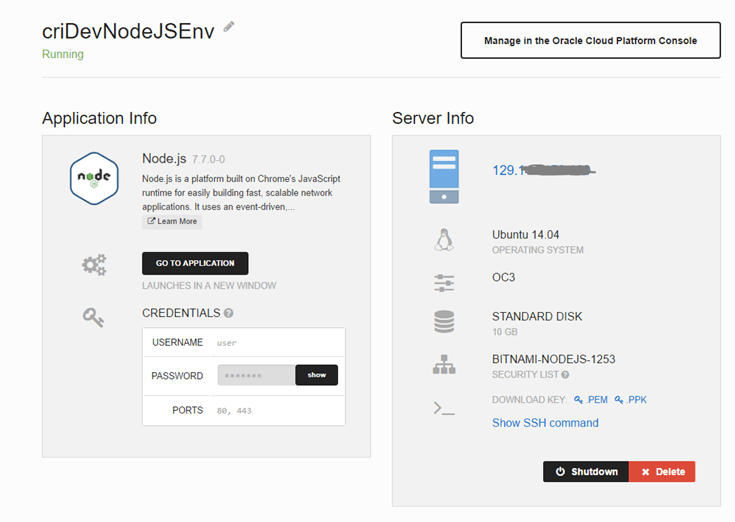
- Give it a few minutes and your environment will be up and running!!!
How cool is that?
Now, let’s test our new environment
Ok, it is time to test it. For this, let’s SSH into it and make sure that NodeJS is configured properly.
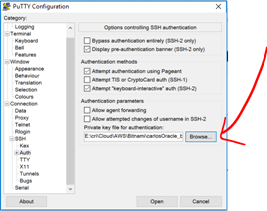
- Download the Private Key that was auto-generated:
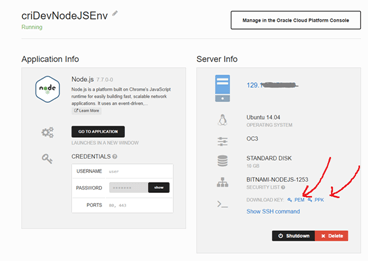
If using Unix/Linux get the PEM. You can also click on “Show SSH Command” if you are not too sure how to use the private key in command line of a Terminal.
It will be something like this:
ssh -i [your-private-key].pem bitnami@129.xxx.xxx.xxx
Notice
that the default username for this Bitnami’s VM is bitnami – Since you are using the private key, you don’t need a password and no passphrase was configured either. Once inside you can set your own rules though.
You can alternatively get the PPK and use it in Putty instead. If you do so, make sure to point to the private key (ppk file that you just downloaded) and use bitnami as the user.
Either way, you should be able to gain SSH access into your new VM:
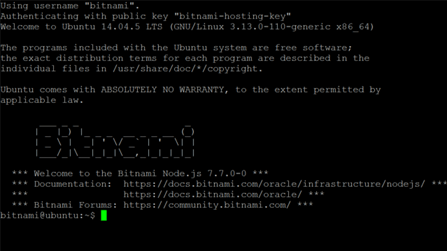
-
The Welcome message already tells you that this is the Bitnami Node.js 7.7.0-0 – However to prove NodeJS is really installed and ready to use, just check its version:
node -v

-
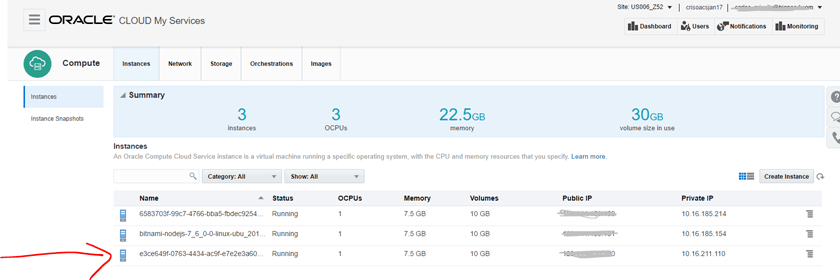
Also, if you go to your Oracle Compute Cloud Service console, you will also notice that this image is there and fully configured…
Now you can manage it from there as well.
Great!!!
So, at this point I am ready to move my NodeJS code into this cloud based environment and “win the price for the original challenge”, which consists in keeping my job for another week =)
I hope you found this blog useful. If you have any question or comment, please feel free to contact me directly.
Thanks for your time.
