I’ve had meetings with clients and colleagues who thought RPA and AI were the same thing, or at least part of the same philosophy.
In my opinion, this is only partially true and for this reason, I have decided to write this article to help clarifying where the two solutions differ.
Robotic Process Automation (RPA) and Artificial Intelligence (AI), although often mentioned together in the context of digital transformation, are two distinct technologies, each with its own characteristics and purposes. Let’s remember that RPA has been talked about since the early 2000s and was certainly created to introduce the first concepts of automation within industrial and enterprise processes.
Let’s take a closer look at these technologies.
RPA is essentially a technology focused on automating manual and repetitive activities according to predefined rules. You can think of RPA as a “digital workforce” that performs actions on software and systems just like a human operator would: it opens applications, copies and pastes data, fills in forms, sends emails, or updates databases. Its great advantage lies in the ability to speed up and make more efficient low-value processes, eliminating errors due to distraction and freeing people from monotonous tasks. However, RPA is not “intelligent” in the strict sense: it operates within very rigid parameters and cannot adapt to new situations or understand context. For example, an RPA bot can extract data from an electronic invoice, but only if the layout remains the same; unexpected changes to the format could stop the automated process.
AI, on the other hand, encompasses a set of technologies inspired by human cognitive capabilities such as learning, reasoning, language understanding, image or sound recognition, and decision-making. AI can analyze large amounts of data, identify hidden patterns, make predictions, adapt to new conditions, and learn from previous results. Therefore, it doesn’t just follow predefined instructions but is able to evolve over time, improving its accuracy and handling situations not explicitly foreseen by developers. For example, an AI system can read text written by customers, understand its meaning, and determine its sentiment (positive, neutral, negative), or it can recognize and classify objects within an image, even if those objects are arranged differently than those seen in past images.
In summary, while RPA is ideal for improving efficiency in repetitive, standardized, and structured tasks, AI comes into play where flexibility, understanding of context, predictive ability, and adaptation to unstructured data are needed. The two technologies can also be combined—for example, using RPA to manage operational workflow and data collection, and AI to add intelligence at specific points in the process, such as document classification or handling requests in natural language.
This integrated approach enables companies to get the most out of automation: RPA brings speed and efficiency, while AI introduces the ability to solve complex problems and add intelligence to business processes.
To summarize, we can recap as follows:
RPA (Robotic Process Automation):
- Focuses on automating repetitive tasks based on fixed rules.
- Replicates human actions on software interfaces (clicks, data entry, data extraction).
- Does not “learn” from data: follows predefined procedures without adapting.
- Ideal for well-structured processes such as data entry, system-to-system transfers, extracting data from structured PDFs, updating records.
AI (Artificial Intelligence):
- Is based on machine learning, deep learning, and NLP (Natural Language Processing) algorithms.
- Can solve complex problems, learn from data, adapt, and improve over time.
- Manages less-structured scenarios such as image recognition, text analysis, virtual assistance, natural language interpretation, trend forecasting.
So, RPA focuses on repetitive and structured tasks, while AI focuses on complex and unstructured tasks; RPA does not learn or adapt, while AI learns from data and improves its performance to automate processes that require cognitive capabilities and not just “mechanical” functions.
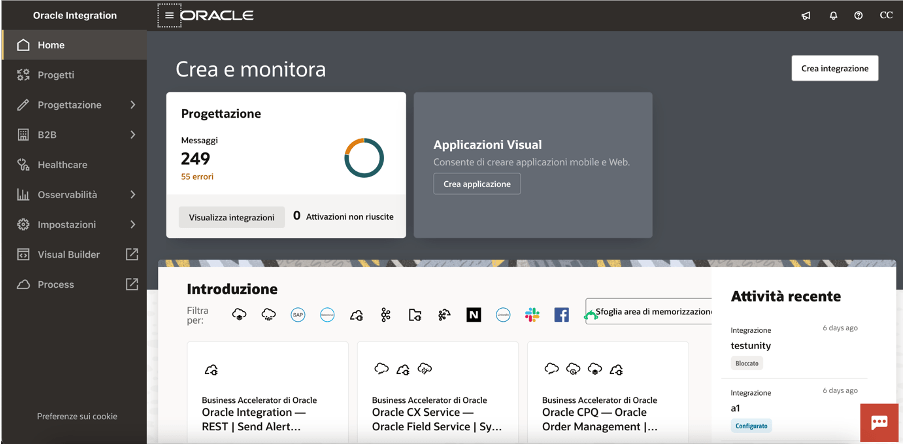
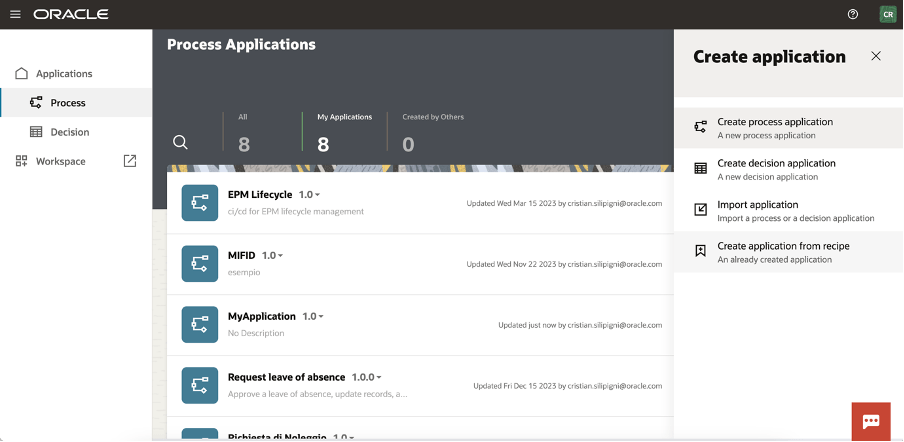
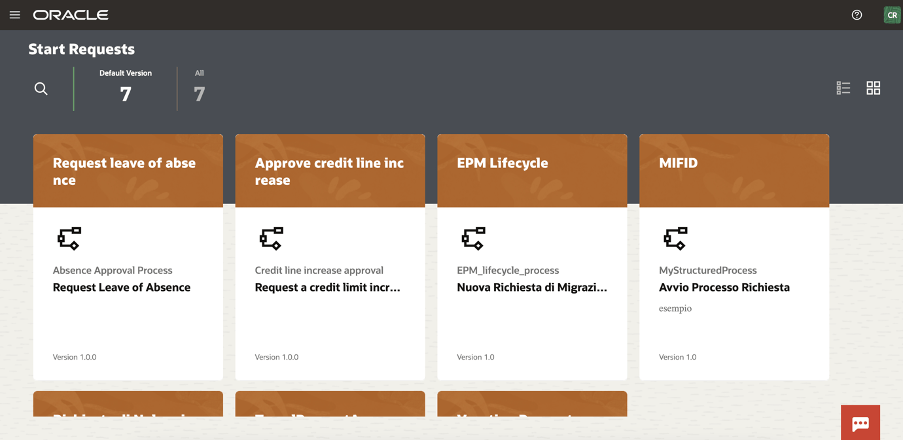
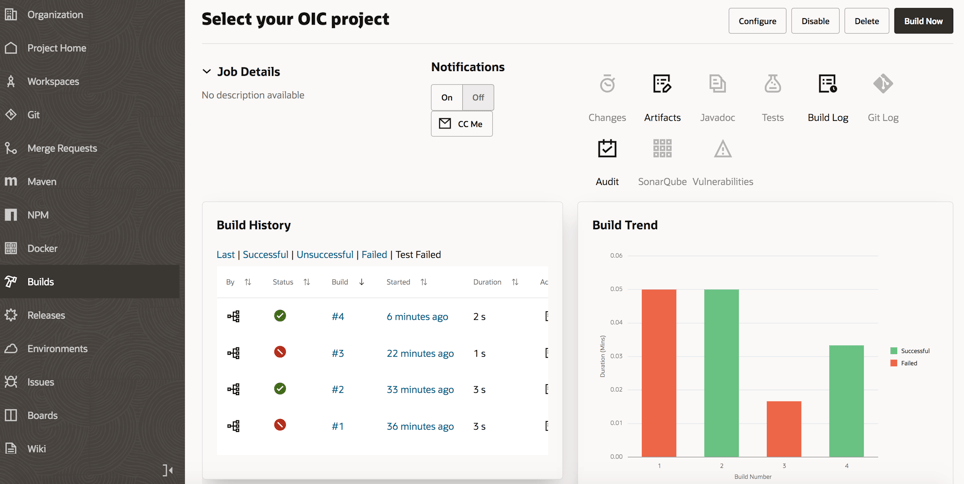
The good news is that today, Oracle Integration Cloud (OIC) is a platform capable of combining Robotic Process Automation (RPA) tools and Artificial Intelligence (AI) capabilities, integrating both technologies within business processes.
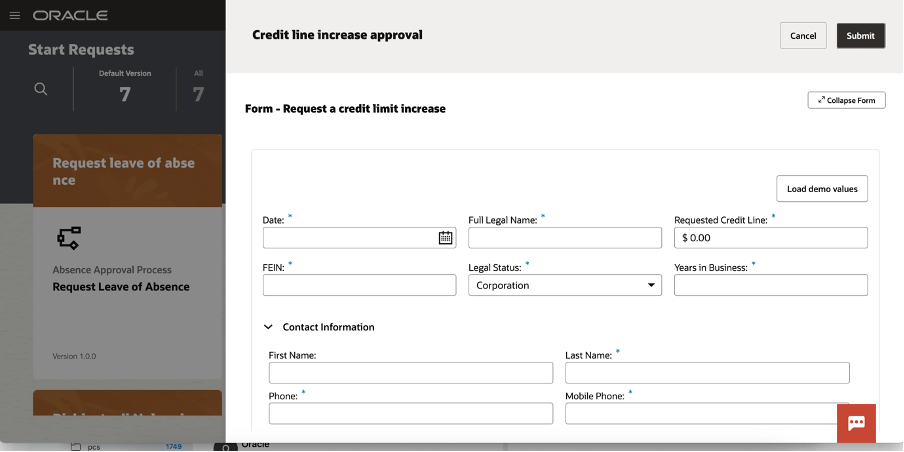
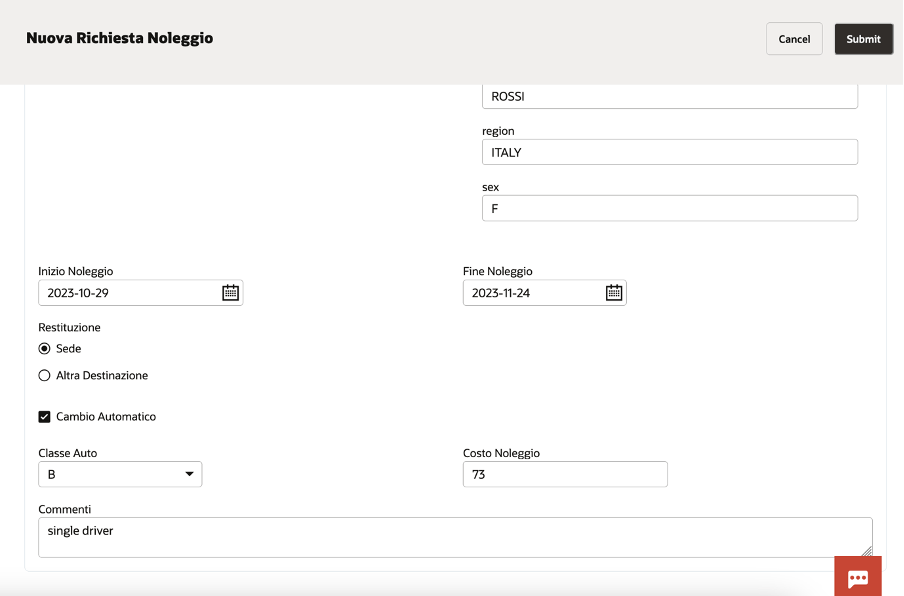
This means a company can use OIC not only to automate repetitive and manual tasks through RPA—such as extracting and automatically entering data into business systems—but also to enrich these processes with intelligent components based on AI.
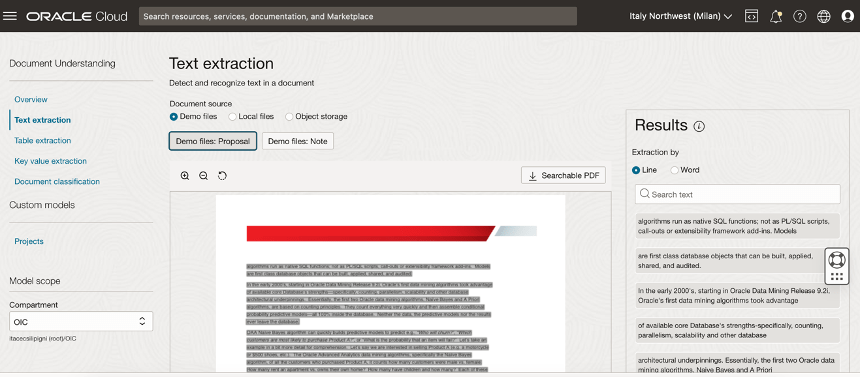
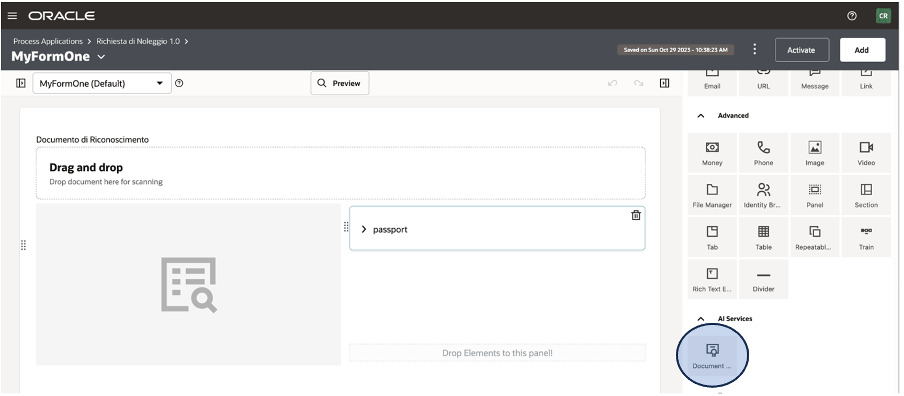
For example, OIC allows the incorporation of natural language analysis to better understand customer requests, supports agentic AI, orchestrate tools and actions, integrate document data extraction services through automatic recognition, or use predictive models to support more informed decisions.
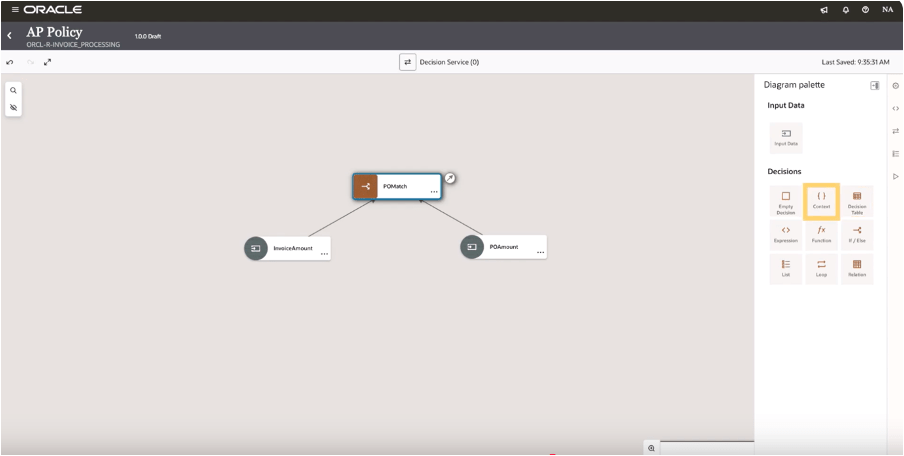
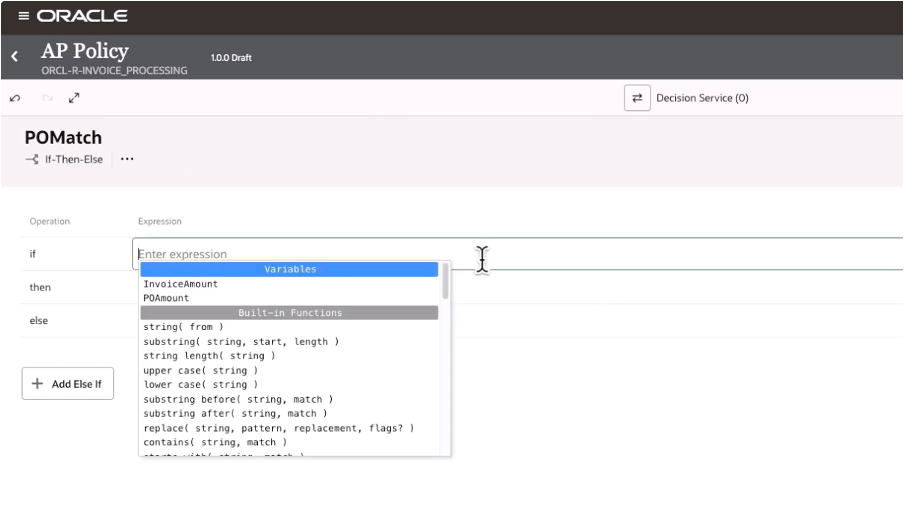
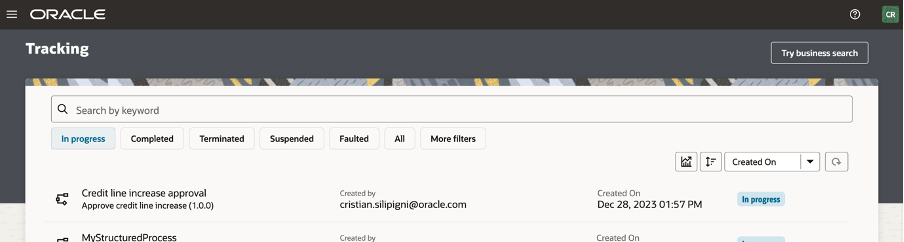
All of this is orchestrated in a centralized and user-friendly environment, often without the need to write code, thanks to OIC’s visual tools and intuitive interfaces. In practice, a company can build workflows in which RPA and AI activities follow one another automatically: for example, a bot can gather data from different systems, pass it to an AI service for advanced analysis or classification, and finally archive the results in a management platform such as Oracle ERP Cloud.
The integration between RPA and AI in OIC brings tangible benefits: it speeds up processes, reduces manual errors, and introduces advanced automation capabilities that allow handling both simple activities and more complex tasks that require “intelligence,” always ensuring security, compliance, and adherence to policies.
References:
https://docs.oracle.com/en/cloud/paas/application-integration/
https://docs.oracle.com/en/cloud/paas/application-integration/robots.html