
In the previous blog post, we looked at how to set up a basic project using Spring Boot. In this post, we want to continue exploring the DevCS capabilities that enable developers to contribute code and collaborate.
We’ll add the new code in a new branch. You can create the new branch either in DevCS itself:

- Click on Code in the left menu
- Click on branch tab on the right
- Click on “New Branch” and give your branch a name.
Alternatively, you can create the new branch locally:
- Either using your IDE
- Or using native git commands in the terminal.
What you do next depends upon how and where you’ve created the branch.
Method: Creating branch in DevCS first
If you create the branch in DevCS, you need to make a fetch first and then switch the branch locally.
Both capabilities are supported in Netbeans. Generally, I prefer to use the command line:
|
$ git fetch devcs * [new branch] feature_01 -> devcs/feature_01 $ git checkout feature_01 |
After fetching, you need to switch branch:

Figure 1: Switching branch in Netbeans
If you are not familiar with git, then I highly recommend Alex Blewitt’s series on git.
Method: Creating branch locally first
If you prefer to create the branch locally first, you first need to create the branch:
| $ git branch feature_01 |
And then switch to the branch:
| $ git checkout feature_01 |
I’m a lazy hacker so instead I’ll combine both commands:
| $ git checkout –b feature_01 |
Add a default controller and a test
We’ll now add a default controller:
package com.oracle.medrec.controller;
|
And the corresponding mock test:
package com.oracle.medrec.controller.mocks;
|
Run the test from Netbeans:
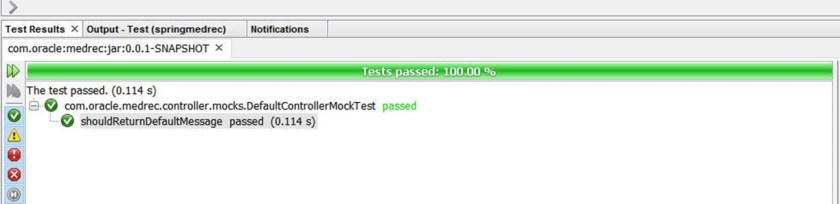
Figure 2: Mock Test Results
Or from the terminal:
| $ mvn test |
The mock test pass locally. So, we’ll push it to devcs. Before that, we need to do 2 things:
- modify the build job so it can pick up the changes to the feature_01 branch
- track the new application and test code
Modifying the build job
- Login to DevCS, go to build and open the build job you created previously.
- Click on Source Control and in branch change from master to feature_01 (we’ll see how to handle multiple branches later)
- Under goals add ‘test’
- Save
Track the new code
We’ll now start tracking the new code so they can be pushed to DevCS:
| $ git add src/main/java $ git add src/test/java |
and commit:
| $ git commit –am ‘added DefaultController and a Mock’ |
Finally, you need to push your code to DevCS. If you remember, I named my remote repository devcs, so:
| $ git push devcs feature_01 |
You should now see a new build being triggered and the build job will be successfully completed.
Merging with master
We’ll now merge the branch feature_01 with master:
- Click on Merge Requests
- Select the repository (springmedrec)
- Select the target branch (master)
- Select the review branch (feature_01)

Figure 3: Creating a merge request
The documentation for these are available here. After you create the merge request, you now have a few views available such as:
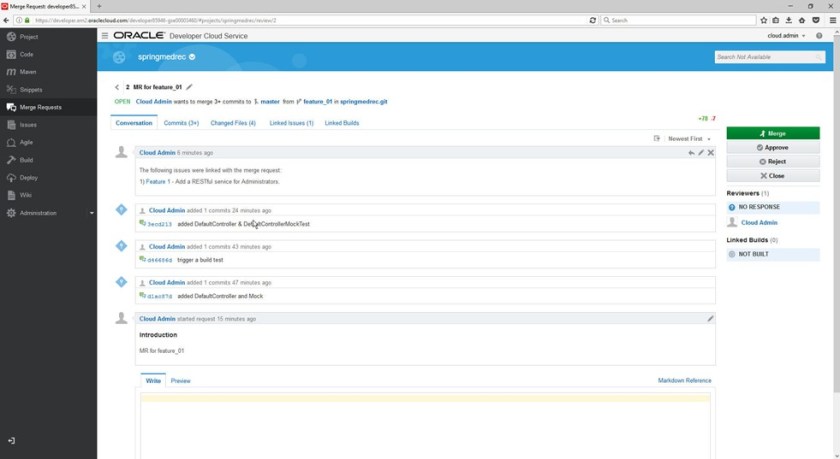
Figure 4:MR Conversation

Figure 5: Changes in Files
Go ahead and hit approve.
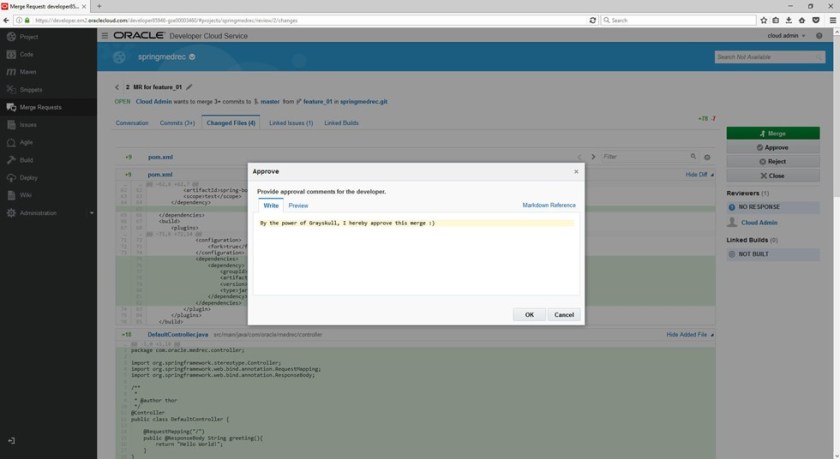
And then do a merge:

Finally, let me leave you with a couple of useful references:
Testing the Spring Web Layer: https://spring.io/guides/gs/testing-web/
Testing Improvements in Spring Boot 1.4: https://spring.io/blog/2016/04/15/testing-improvements-in-spring-boot-1-4
