
In December 2015, Oracle acquired the StackEngine, which provided (Docker) container management software and automation (DevOps) capabilities. According to Wikipedia, https://en.wikipedia.org/wiki/StackEngine – “The StackEngine model-based Docker management software provided an integrated DevOps solution for end-to-end container application delivery and operation, all with an integrated GUI dashboard, service discovery, scheduling, and orchestration functions. StackEngine could be deployed into any on-premise, hybrid, public, or private cloud environments and scaled across thousands of hosts enabling users to start in the lab and scale out to full production.”
In November 2016, Oracle announced the general availability of the Oracle Container Cloud Service (OCCS) which had taken the StackEngine capabilities and transformed them into a Cloud Service.
The following diagram gives a high level overview of the OCCS functionality.
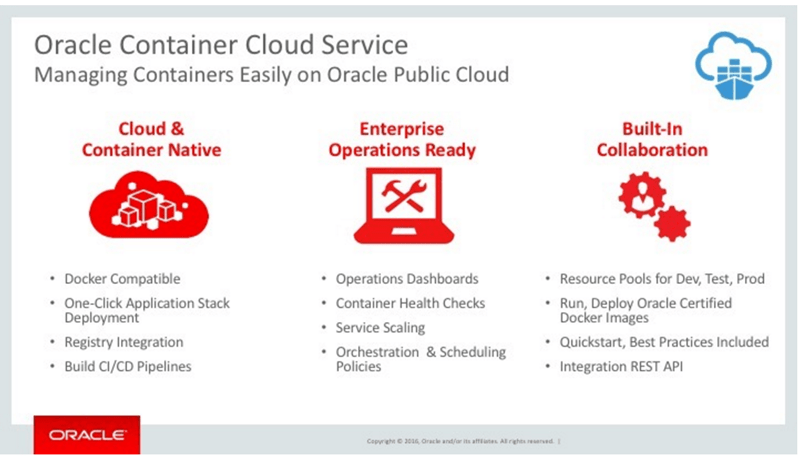
For those interested Mike Raab of Oracle OCCS Product Mgt highlights three differentiating features of OCCS in a brief article – refer https://community.oracle.com/community/cloud_computing/infrastructure-as-a-service-iaas/oracle-container-cloud-service/blog/2016/11/14/oracle-container-cloud-service-managing-containers-easily-on-oracle-public-cloud?elqTrackId=65604fa7c8fb4af496f34b04b417d027&elqaid=42631&elqat=2
The article highlights some of the things you need to consider in an environment where you have a number of containers to deal with. While I haven’t spent much time with OCCS, it is clear that the management capabilities are powerful and easy to use.
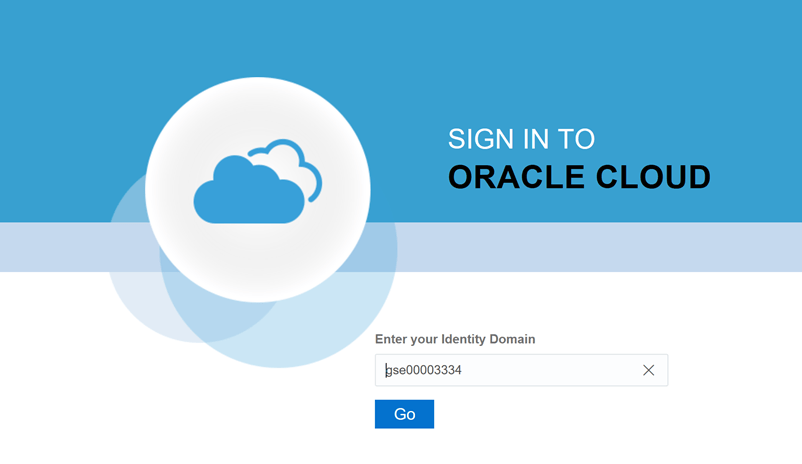
This blog post is the first of three OOCS blogs, and is focussed on Provisioning the Container Service. The other blogs will deal with the steps involved in create and deploying services and stacks. Firstly I logged in to the Oracle Public Cloud, specifying my Identity Domain.
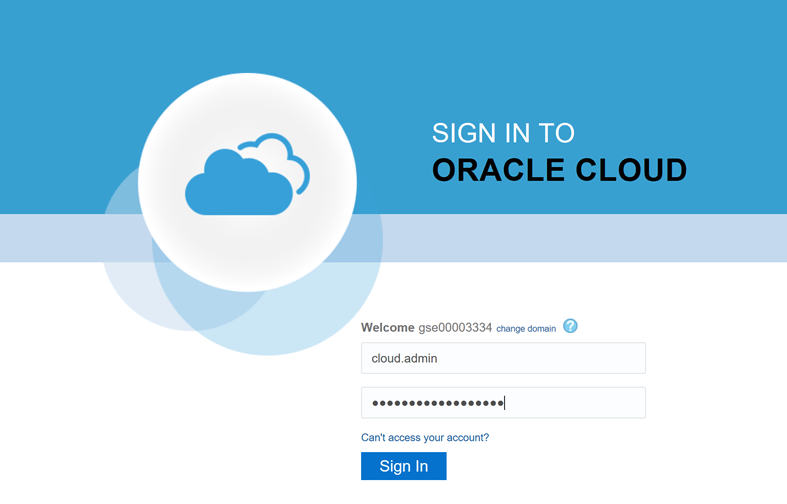
I entered my cloud credentials.
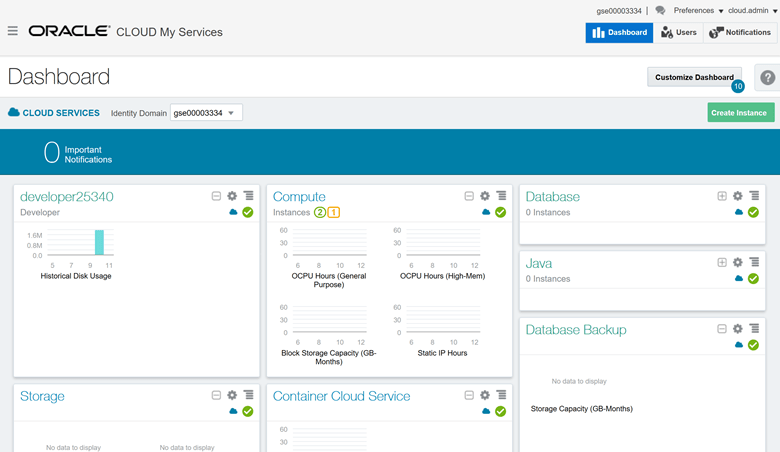
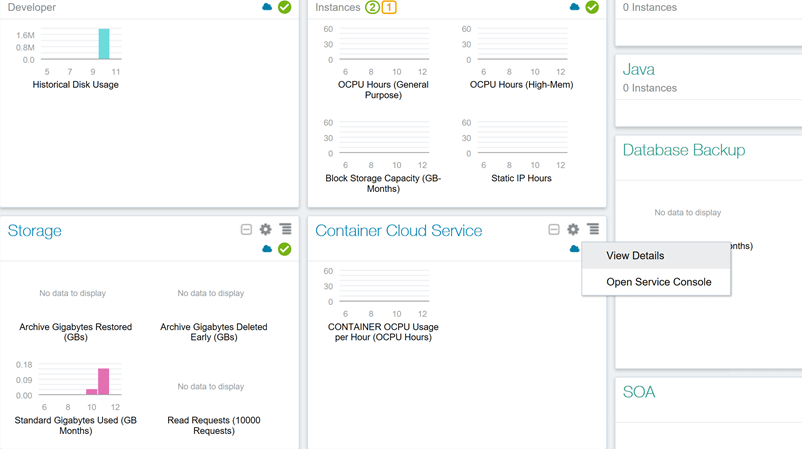
The dashboard of Cloud Services (IaaS and PaaS) that I have access to as part of my Cloud subscriptions is displayed.
Note the Container Cloud Service currently has no service instances.
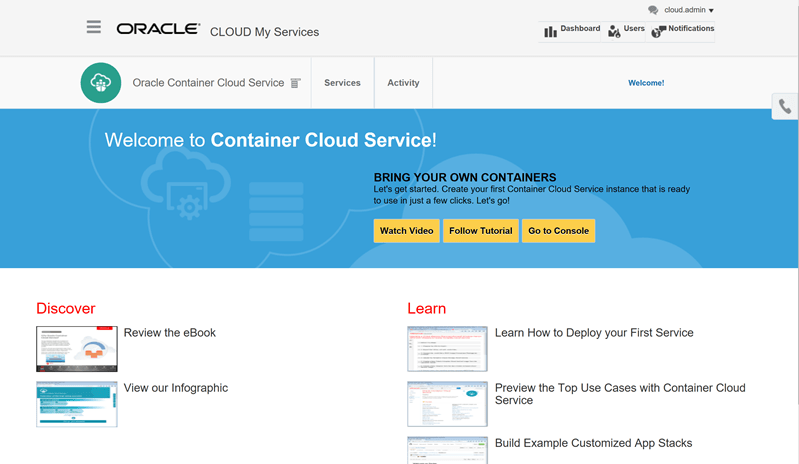
I clicked on the hamburger menu for the Container Cloud Service and chose to Open the Service Console.
As with many of the Oracle Cloud Services there is a welcome page with some useful videos and tutorials to help get you started or you can do what I did and click the button go to the actual console.
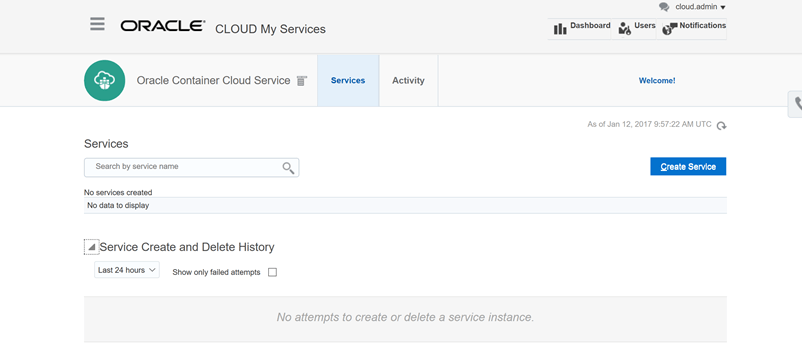
I see my list of OCCS services is empty, so I click to Create Service.
I then entered a service name, description and sourced my Public / Private keys for SSH access,
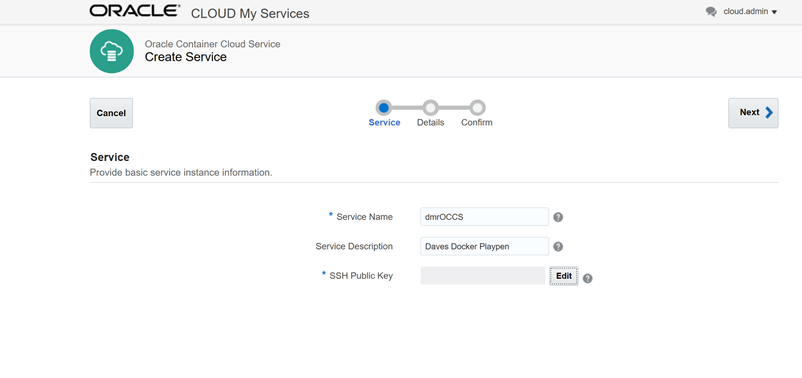
For the keys, I clicked Edit button and chose to Create A New Key rather than using an existing key.

I then pressed Enter. In the Download Keys dialog window that appeared I pressed to Download the keys.

I chose a suitable location to save they key file in.

In the following dialog window I then chose Done.

OK, so far, so good – I have named the service and have keys to access, so I press NEXT.

I specify the Admin Username (admin) and Admin Password (Welcome1).
You also get the chance to choose the CPU Shape for the worker Nodes. Essentially the OCCS service will provide a management node and you specify how many worker nodes you want.
For the compute shape I chose the OC3 shape which is 1 OCPU with 7.5GB RAM and also specified 35 GB of storage. This means that my OCCS service configuration has used 3 OCPU.

Click Next

I reviewed the Summary of my service configuration and pressed Create.

A short time later, I noticed that storage had been allocated, and little by little the service creation activity steps were processed, and finally my service was ready to use.

The screenshot below shows the Activity Details and the Completion message.

From the Console I can also view the Activity Tab for details.

From the Console I can also view the SSH Access Tab to view my SSH keys and add other keys if necessary..

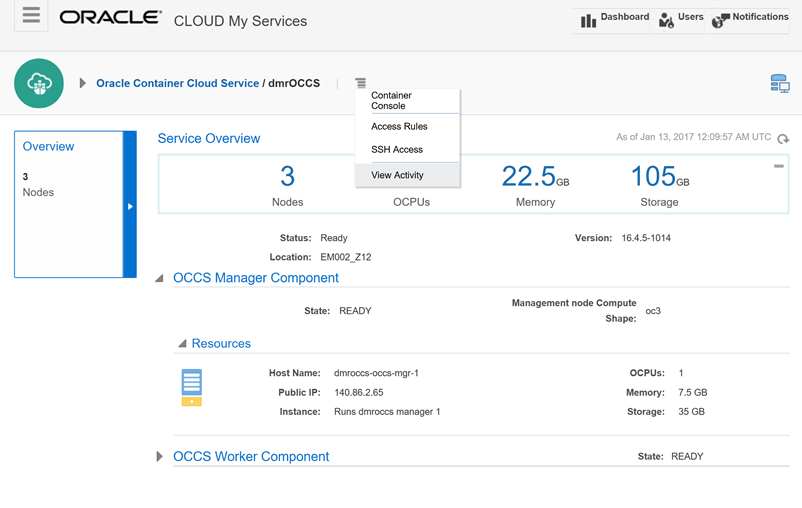
The OOCS Service shows the 3 Nodes (1 Mgt, 2 Worker Nodes), the 3 OCPU’s that are allocated from your Compute pool and the total storage allocated for the 3 nodes.

I then clicked the hamburger menu adjacent to my OCCS service – dmrOCCS and I was presented with 4 options;
- Container Console – the actual console used to provision Docker containers
- Access Rules – where I manage the Access Rules (network ports that are opened and the protocols allowed to access the hosts / containers).
- SSH Keys – where I can view / add Public / Private Keys for the hosts.
- View Activity – view activity on the hosts.

When I chose Access Rules I see the rules, ports and protocols which I can add to or lock down.

From the hamburger menu I chose Container Console.
Note when I launched this I had a certificate error appear in the browser. I accepted the risk and continued and all seemed to work fine.

I logged into the Container Console using the credentials specified when the OCCS service was created… eg admin / Welcome1

You should now see the OCCS Container Console, which allows you to manage your Docker containers.

We now can see the Container Console, which has some exciting capabilities. In my next blog I will show you some of the Docker management capabilities.

Thanks for sharing this valuable information regarding Provisioning the Oracle Container Cloud Service. I really appreciate your efforts put in this blog post. This articles will be very helpful for peoples have no idea container cloud services. Keep sharing!!
LikeLike