
Installing VNC Server on your Raspberry Pi 3
Source: https://www.raspberrypi.org/documentation/remote-access/vnc/
- Install the TightVNC Package
sudo apt–get install tightvncserver
- Next, run TightVNC Server which will prompt you to enter a password and an optional view-only password:
tightvncserver
-
Start a VNC server from the terminal: This example starts a session on VNC display two (:2) with full HD resolution (1920×1080) if you want or something smaller based on your current resolution:
vncserver :2 -geometry 1024×768 -depth 24
In order to run this everytime at startup follow any of the options here: http://askubuntu.com/questions/228304/how-do-i-run-a-script-at-start-up
My favourite is to (as root):
vi /etc/rc.local
with content like the following.
# Lots and lots of stuff already here…
vncserver :2 -geometry 1024×768 -depth 24 || exit 1 # Added by me
exit 0
-
Note that since by default an X session is started on display zero and one, you might get an error in case you use :0 or :1. If so, use 2 or 3, etc. Just remember the port you used.
-
Since there are now two X sessions running, which would normally be a waste of resources, it is suggested to stop the displaymanager running on :0 and :1 using
Note: Don’t run this in a Linux environment on a physical hardware or you will kill your startx process (unless you want that). Do it only if this is a guest VM running somewhere.
sudo service lightdm stop
- Now, on your computer, install and run the VNC client. If using Windows just get VNC Viewer.
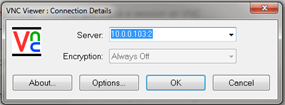
- Enter the password that you entered previously

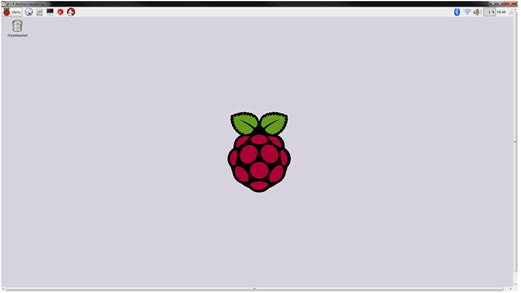
- Congrats!
- If you want to also install VNC Viewer on a Linux machine (in case you don’t have one already) install the package xtightvncviewer:
sudo apt-get install xtightvncviewer
Otherwise, TightVNC is downloadable from tightvnc.com
For some well-known issues:
https://www.pi-supply.com/make/fix-raspberry-pi-3-bluetooth-issues/
