
Security is super important, but also annoying. From a backend developer mindset, all I want is to build great services exposed as APIs that the world can consume with ease. The problem is that in most cases, consumption of my endpoints will be blocked by browsers and other tools/client unless they are exposed as HTTPS with valid SSL certificates.
In this blog, I am going to show you how to use Let’s Encrypt to create your own “Wildcard SSL Certificate” for your existing domain, for example: *.mydomain.com – Then I am going to show you how to assign this certificate to your Oracle LBaaS Listener endpoint.
For these steps, I am using an Ubuntu VM. Feel free to adapt the instructions if you are using a different OS.
-
First, let’s Setup pre-requisites:
sudo apt-get update

sudo apt-get install python-minimal

python –version
-
-
I got: Python 2.7.6
-
-
-
Setup Certbot:
mkdir $HOME/mycerts && cd $HOME/mycerts

git clone https://github.com/certbot/certbot.git

cd certbot && ./certbot-auto
- Genereate the wildcard SSL certificate
./certbot-auto certonly \

--manual \

--preferred-challenges=dns \

--email YOUREMAIL \

--server https://acme-v02.api.letsencrypt.org/directory \

--agree-tos \

-d *.YOURDOMAIN.COM
-
You have to add a TXT domain record into your domain for verification purposes. Go to your DNS service and create a DNS TXT record under the name:
For example:
_acme-challenge.YOUR_DOMAIN with the provided value.
- Once you have created the TXT record, give it some time to let root DNS servers refresh and then click Enter to continue.
- Congratulations, your certificate is ready:

-
Verify them:
cd $HOME/mycerts/certbot
./certbot-auto certificates

- Now, let’s add our certificate to our Oracle LBaaS endpoint.
-
Go to LBaaS and add your certificate:

- Give it a name. Then copy from your just generated certificates and paste the full chain into Certificate and also paste your private key into Private key. Click Add certificate when done.
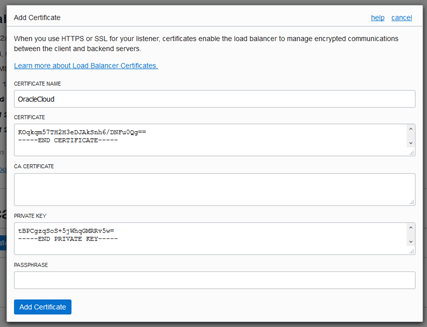
- Adding full chain certificate and private key to LBaaS:

- Your certificate should be enabled:

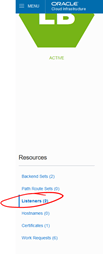
- Now, let’s enable the certificate into the Listeners. In the left menu, under Resources, click on Listeners
- Select the listener that you want to enable SSL on. In my case it is my listener on port 80. Hove over the three dots on the right and select Edit Listener
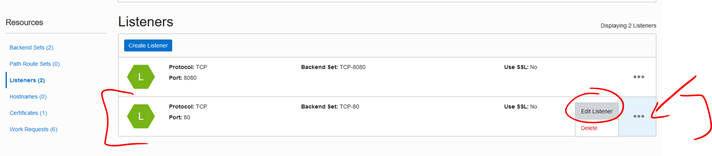
- Select “Use SSL” and make sure you point to the Certificate that you previously created. When done, click Submit.

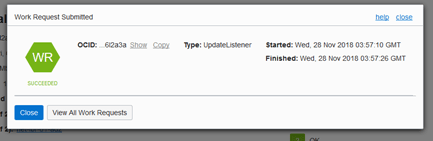
- Make sure your request is accepted and then proceeds to Succeeded.
-
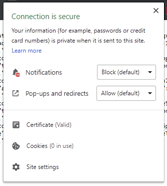
Try any of your URL endpoints under the domain that you cert-authenticated (i.e. *.yourdomain.com) in the browser.
They will now be available as HTTPS valid certificates!!!! How cool is that?
Congratulations!!! Your REST APIs are now exposed as SSL with valid certificates.
I hope you found this blog useful. If you have any question or comment, feel free to contact me directly at https://www.linkedin.com/in/citurria/
Huge thanks to Saurabh Palande, for providing insight into how to use Let’s Encrypt to generate the valid SSL certificate. Feel free to read his blog here.
Thanks for your time.

This shall help me alot! Thank you so much. I had to use tunneling tools all the time to expose my APIs.
smatclouds.wordpress.com
LikeLike