
The first AppDev Made Easy (previously known as DX Workshop) for this tour started in Perth. We are continually trialing a few different things as such as we incorporated Fn project https://fnproject.io.
The whole demonstration of Functions was to articulate that there are different ways to execute and understanding the problem to solve as well as the values that the organisation holds (including both business and IT departments including developers) which will determine the technology.
For the demo we start from the very beginning.
Getting Fn Installed
The documentation on github is easy to follow – https://github.com/fnproject/fn. The first thing to do is to install docker. I refer back to this previous document to install docker on Oracle Compute Cloud Service – This is How Easy it is to setup Docker on Oracle Compute Cloud Service. Or if you are comfortable with the docker install, then that’s good too.
We use the simple curl script from the README to install fn.
Here’s the basic steps that we took get fn up and running.
1/ Run curl to download the CLI installer and install using shell. The URL is https://raw.githubusercontent.com/fnproject/cli/master/install.
curl -LSs https://raw.githubusercontent.com/fnproject/cli/master/install | sh
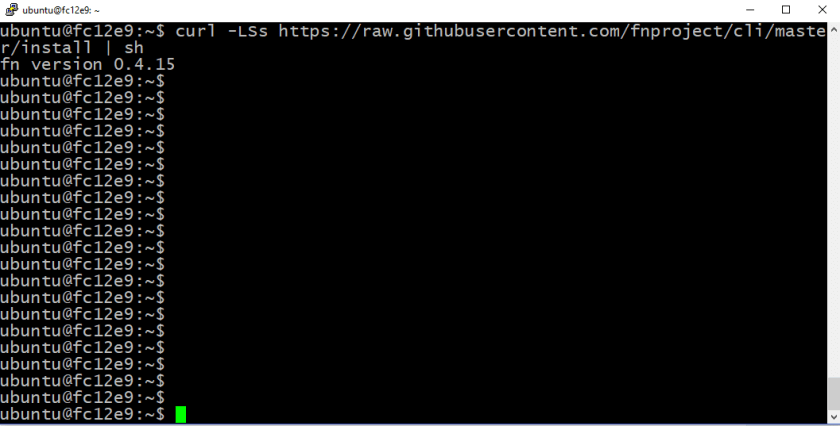
2/ Run the fn version command
fn version

3/ Run the fn server command to start the server.
fn start

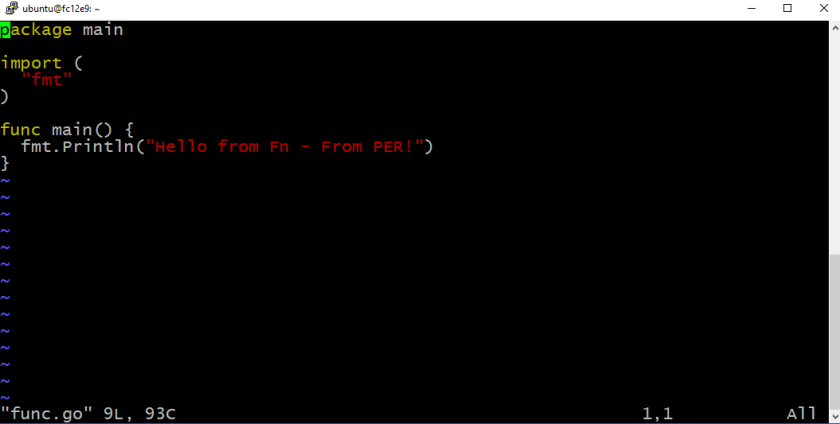
4/ In a different window, create a new file called func.go with the implementation.
vi func.go
You can type in the code (as below)
package main
func main() {
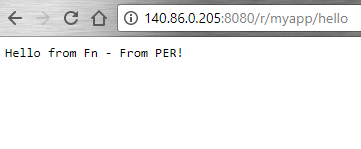
fmt.Println("Hello from Fn - From PER!")
}
5/ Run the fn init command. This creates a yaml file that is introspected from the function. The main information that is collected is the runtime ie in this case it’s go.
fn init
Since the original (version) you can also autogenerate the hello example with the init command. This will create the code, the yaml file and a test file.
fn init --runtime go hello

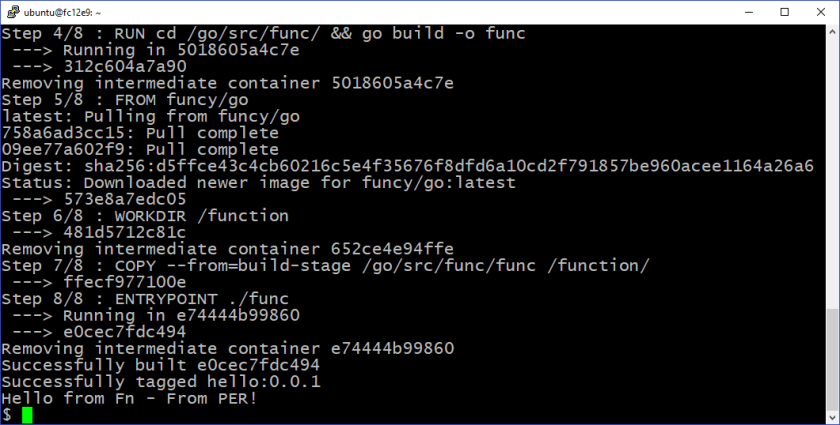
6/ Run the fn run command. This compiles and creates the function runtime and executes the function.
fn run
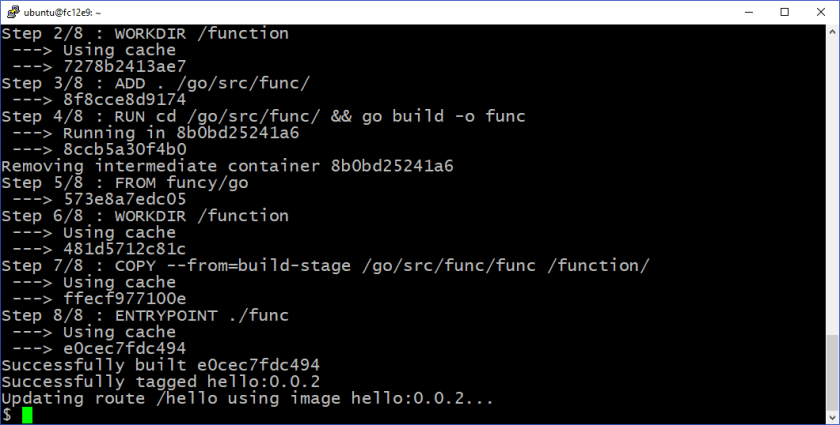
7/ Run the fn deploy command to deploy this to the local fn server. There is an option to also deploy it to an associated docker hub registry.
fn deploy --app myapp --local
8/ Let’s test it out and here is the browser result.
For the session today, I also demonstrated Apiary. From the API created by Carlos and Dave for the API Made Easy workshop, I copied the sample nodejs code from the Apiary tool.
9/ I created a new file func.js in a new directory called sms.
vi func.js

10/ I created a new file package.json to describe the dependencies that the function had.
vi package.json

11/ From here, it is the same process. Run fn init command to generate the yaml file and then run the fn run command to test output the code.
fn init
fn run

12/ Run fn deploy command to deploy the newly created function.
fn deploy --app myapp --local

13/ Test out the function from the browser and see the output from the function.

The whole experience was pretty simple. There was not much that needed to be done. The combination of the simplicity of the solution as well as the documentation and examples to support developers was really well done.

The docker installations have changed since the original article – To use the latest version of the instructions for OL 7.2 UEK4 – this article works better. https://docs.oracle.com/cd/E52668_01/E87205/html/docker_install_upgrade_yum.html
LikeLike