
As of Dec 2016 aka Release 16.4.5, the ICS Scheduler has finally arrived!
You cannot imagine how excited I am! As a regular integrator of SaaS systems, I’ve started noticing a trend where most SaaS softwares offer comprehensive REST/SOAP APIs, but wait… with a catch, they’re all passive. Meaning you can call them to get/put data, but you can’t trigger an activity from them when certain data has changed. Some of my peers have even commented that we’ve gone backwards in time before SOA where everything is batch processed.
Rant aside. To automate integration between 2 “passive” APIs, you will need some form of trigger, preferably a scheduler. ICS has had a scheduler function for File/FTP connectors for a while now. This new function applies on Orchestrations, which means you can pretty much schedule and integrate any connector.
Today I’m going to showcase creating a scheduler that will send SMSes to me every 10min. The SMS gateway is implemented using REST. You can practice this with any connection you can view the response with (Email/Database).
Configuration in ICS
Create a new Orchestration integration.
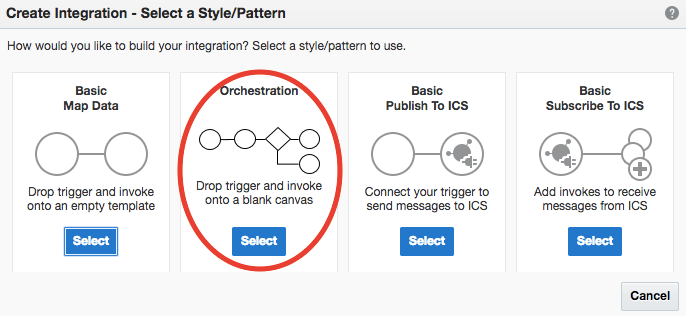
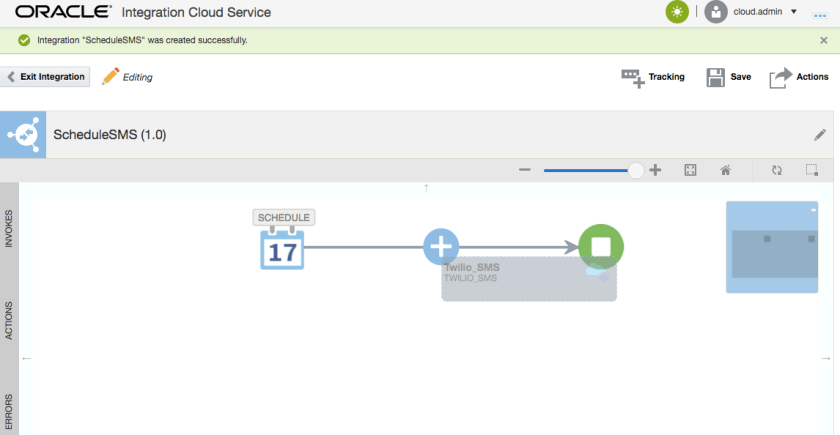
Select Schedule as the Trigger.

Select the connector that you want your scheduler to kick off and drop it between Schedule and the end-point.

The configuration screen pops up. I entered the values for my REST connector, which requires a POST and a payload of what to be texted and clicked [Next].

My REST API requires a JSON payload so I am going to paste in a sample JSON.


Now to do some mapping. Select the SendSMS map.

I pop open the mapper and drag a “concat” function to merge 2 strings.
Using String1 = “Scheduled SMS at:” and drag over startTime (with comes with the Scheduler) as the 2nd string.

I map a phone number into “to” and this is my final mapping.

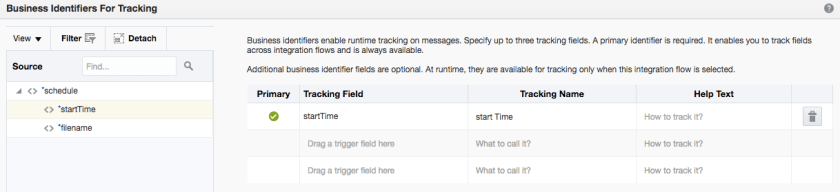
To complete the integration, I will need to setup a tracking field.
Save and exit the integration. I’m turning on tracing as I’m in Development Mode.

You can now choose to “Activate and Schedule” or Activate and add it later. I’ll select “Activate and Schedule”. The Orchestration is activated and I can select the frequency.
I’ll select every 10min to quickly see some output.

Exit the Scheduler
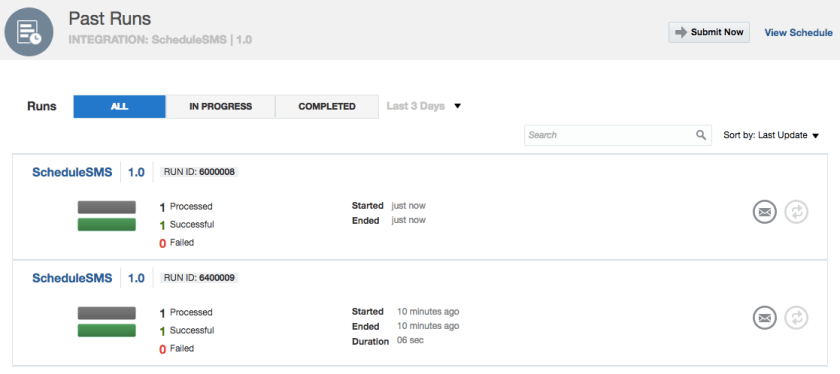
 I select [Start Schedule] and now all my future runs are displayed. You can pause the scheduler at any time. For adhoc runs click on [Submit Now].

Click on Past Runs to see what has occurred. You can view Messages around the run or if an error has occurred, re-submit the run.
Keen to play more? Goto https://cloud.oracle.com/integration and hit [Try It] to get a trial account.

this was nice…
i need to know how to schedule integration if i have to insert data into database ??
LikeLike